
 XEN Create
Using the Weird parameter in Midjourney
Sometimes you need to be weird to stand out! The same goes for AI-generated images. If you want to add an unconventional and unique aesthetic to your...
Midjourney is a text-to-image AI tool designed to empower users in crafting customised images by responding to prompts or sets of words. It’s a valuable tool to create assets that can be used hand in hand with HubSpot to meet your marketing needs. Instead of searching for pre-existing images that may not perfectly suit your requirements, Midjourney serves as a dynamic asset creation platform, enabling you to generate tailored and brand-aligned images through guided prompts.
Set up an account

Subscribe to a Midjourney Plan
Visit midjourney.com/account, sign in with your verified Discord account, and select a subscription plan that suits your needs
Create a new server and invite the Midjourney Bot
Go to https://discord.com


Start generating images

Type your prompt
Describe the image you want to create and press enter.
Tip: Set the aspect ratio during the prompting stage by typing “--ar” followed by a space and your desired aspect ratio (e.g., office desk with purple and blue colors --ar 16:9). Explore our blogs for prompt inspiration and tutorials.

Upscale and export your image


Check the aspect ratio and file size
It’s best practice to keep the file size of images under 300KB to ensure the post loads quickly. To compress the file size, you can use a photo editing tool such as Photoshop, or an online tool like https://compresspng.com/
Update the filenames of your images
For best practice, follow this naming convention:
No spaces
Use dash (-) instead of space
Use lowercase only
Should be descriptive but not long
Upload in the correct HubSpot folder
Go to Marketing > Files and Templates > Files


An alt text should be a short description of what the image is. Here's how you can add your alt text:


Emails
The ideal aspect ratio for email headers is 16:9. For images intended for your email body, an aspect ratio of 4:3 or 1:1 would work well, depending on the layout.
How to insert your Midjourney images in your emails:
Go to Marketing > Email
Edit an existing email or create a new email 
From the content tab, drag and drop the image module onto your email editor
Click "Select image" and add your Midjourney image
Blog Posts
When selecting aspect ratios for your blog, opt for a 1.91:1 ratio for the featured image. For images within the blog content, you can choose from 16:9 (landscape), 2:3 (portrait), or 1:1 (square) aspect ratios.
How to insert your Midjourney images in your blog posts:
Go to Marketing > Website > Blog
Edit an existing blog post or create a new one 
In the settings panel, click on the image icon to insert your Midjourney image
Landing Pages
The ideal aspect ratio for landing page background images is 16:9. For the images in your content, the usual aspect ratios are 16:9, 2:3, or 1:1.
How to insert your Midjourney images in your landing pages:
Go to Marketing > Landing Pages
Edit an existing landing page or create a new one


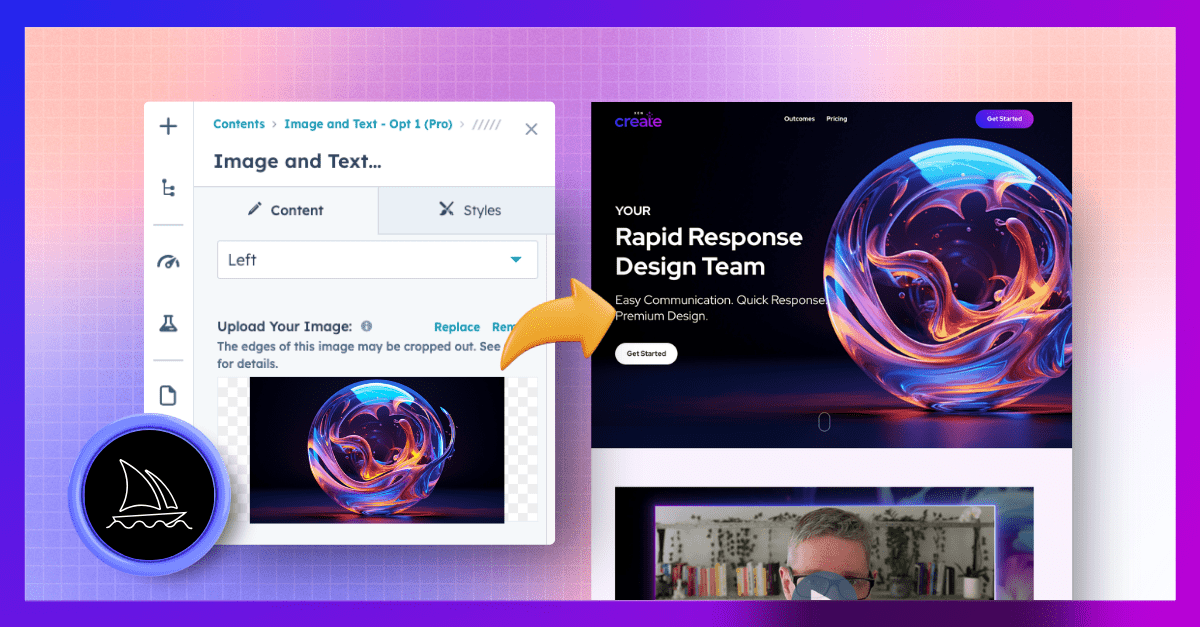
Website Pages
The ideal aspect ratio for website page background images is 16:9. For the images in your content, the usual aspect ratios are 16:9, 2:3, or 1:1.
How to insert your Midjourney images in your website pages:
Go to Marketing > Website > Website Pages

For image modules, click on the image section, then click "Replace." For rich text modules, click "Insert," then click “ Image” 
Social Posts
The aspect ratios for Facebook and LinkedIn posts are typically 1.91:1 for horizontal images or 1:1 for square posts. On Instagram, it's best to use a 1:1 aspect ratio, although a 4:5 aspect ratio works well for portrait images. You can also use HubSpot to post an Instagram story; simply ensure your image or video has a 9:16 aspect ratio.

How to insert your Midjourney images in your social posts:
Go to Marketing > Social
Click “Create social posts”
Click on the image icon below “Add Media” to insert your Midjourney image
CTAs
The usual aspect ratio of CTA images are 1:1 (Square), 16:9 (Landscape), or 3:4 (Portrait)
How to insert your Midjourney images in your CTAs:
Go to Marketing > Lead Capture > CTAs
In the top left side, click the dropdown menu and select CTAs. Open an existing CTA or create a new one
After selecting your desired CTA type, drag and drop an image module onto the CTA from the 'Add' tab
Click "Select image" to insert your Midjourney image
CTAs (Legacy)
Typically, CTAs (legacy) have a 4:1 aspect ratio (eg 1600x400px). If your CTA has a different size, double its dimensions for sharper display. Learn more about retina optimization here.
How to insert your Midjourney images in your CTAs (Legacy):
Go to Marketing > Lead Capture > CTAs
In the top left side, click the dropdown menu and select CTAs (Legacy). Open an existing CTA or create a new one
Choose “Image button” and upload your Midjourney image
Ads
The ideal aspect ratio for Facebook and LinkedIn ads are 1.91:1 or 1:1.
How to insert your Midjourney images in your ads:
Go to Marketing > Ads
Click “Create" and select "Ad Campaign” from the dropdown
After choosing your preferred ad type and entering the details, upload your Midjourney image in the "Ad" tab
Brand Kit
For logos, you have the flexibility to choose between aspect ratios of 1:1 (square), 2:3 (portrait), or 16:9 (landscape), depending on the type of logo image you have. As for the favicon, the ideal aspect ratio is 1:1. To ensure compatibility, resize the image to 48x48 px, which can be easily done by using the Preview app (for Mac) or Photo Viewer (for Windows).
How to insert your Midjourney images in your brand kit:
Click on the Settings icon at the top right side
In the left sidebar, go to “Account Defaults” under the "Account Setup" section
Click on the “Branding” tab, then navigate to “My Brand Kit”
Upload your Midjourney-generated logo or favicon by clicking “+Add” and selecting “Browse Images”![]()
Email Signature
The recommended aspect ratio for an email signature banner is 6.33:1. Additionally, it is advisable to keep the file size of the banner below 15-20 KB.
How to insert your Midjourney images in your email signature:
Click on the Settings icon at the top right side
Go to “General” in the left sidebar
Click on the "Email" tab
Within the Configure section, choose “Edit email signature"
Input your signature, then click on the image icon to add your Midjourney image
Meetings Avatars
The recommended aspect ratio of a Meeting avatar is 1:1. It's best to leave some space around your image so that the subject won't be cropped in the circle.![]()
How to insert your Midjourney images in your meeting avatars:
Go to Sales > Meetings
Edit an existing Scheduling page or create a new one
Open “Scheduling” Tab
Scroll down and click on “Additional settings,” then select "Custom image"
Click on the user icon and choose “Change photo”
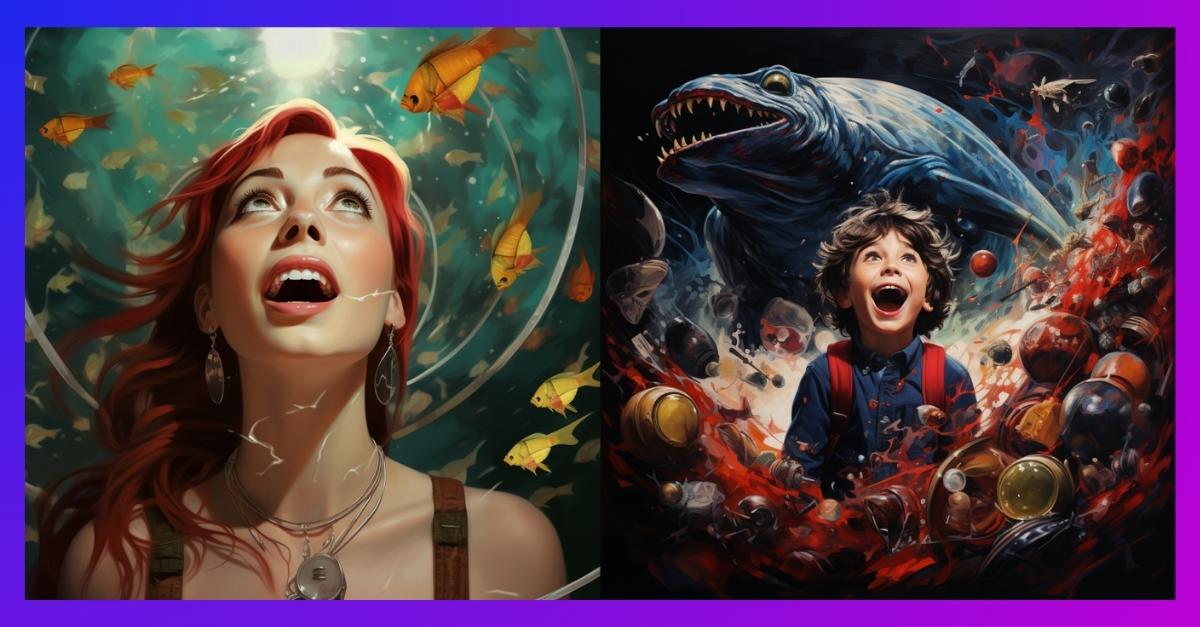
Sometimes you need to be weird to stand out! The same goes for AI-generated images. If you want to add an unconventional and unique aesthetic to your...
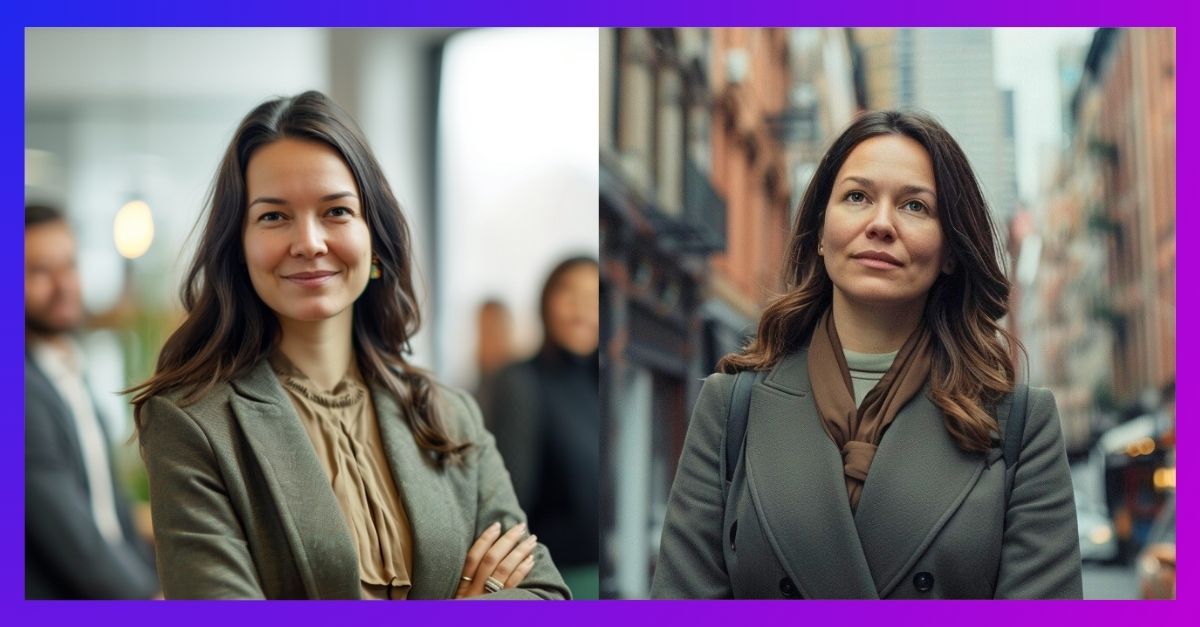
Midjourney recently introduced a new feature called character reference, which has changed the way users create characters. Gone are the days of...

Midjourney's default 1:1 aspect ratio is a perfect match for social media posts. But what if you need something more suited for a website background...